Sunday, September 19, 2010

Birthday Garland

So my baby just turned 3 years old! I can't believe how time flies! It feels like the past couple of weeks have been crazy busy and not time for much sewing and/or crafting. However, before her party, I happened upon a blog that gave me a great last minute (literally) idea for party decorations.


Gracie Birthday


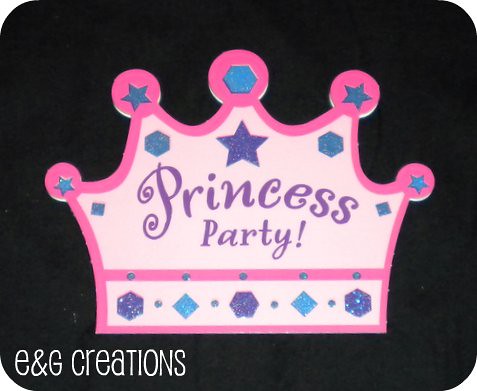
For the kids' birthdays they get to choose a theme for the party. My daughter is currently obsessed with all things princess, so I was not surprised at her choice. I really wanted to avoid the Disney princess theme though. We love us some Disney movies...but for some reason, I really dislike any character clothing and any other paraphernalia (including party decorations). If she had really wanted Disney specifically, we would have gone that route, but she is generally easy to please (well....other than the multiple times a day when a melt down occurs and a tantrum ensues...but that is another subject). So, when I found these princess invitations, I thought they were adorable and a great neutral foundation for party decorations as well.


Birthday Invitations


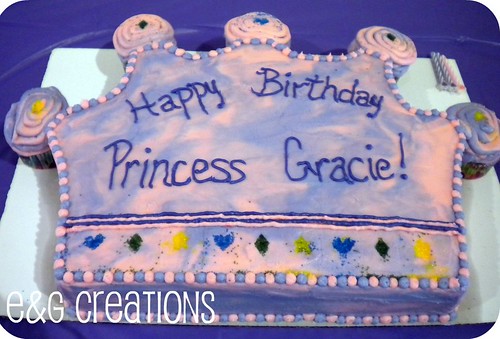
My sister is awesome at making cakes, so I commissioned her to make a cake based upon the invitation (I have made the kids cakes in the past and I normally end up in a panic and completely stressed out...so I have decided there are some projects that are just best left to others). I gave her complete creative control other than the basic design and as always, I was very happy with the end result (she also made my son's cake this past year - a very cool race track)!


Birthday Cake


I decided to just use pink & purple for the decorations. I could not find any decorations that were princess-ey that did not look cheap and/or were not Disney. I would have loved to have found some plates, garland, etc. that matched the invitations, but no such luck. The party was very small, mostly just family and just a couple of friends...and being frugal (i.e. cheap) I also did not want to spend a huge amount of money on decorations. The day of the party, I remembered a blog I had recently seen, showing how to sew paper circles into a garland I didn't want circles...but I had a couple of extra invitations, so why couldn't I do the same with princess tiaras instead?!

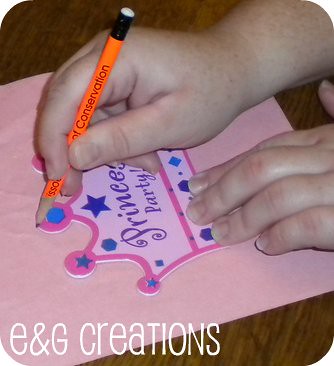
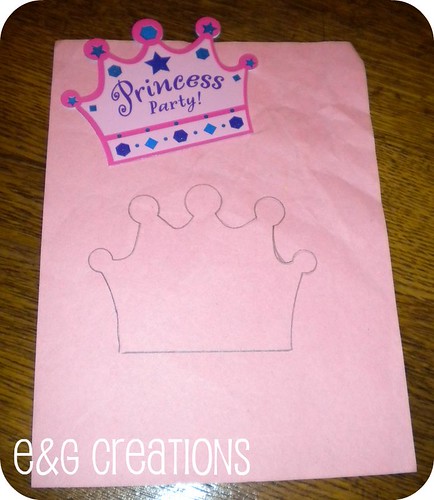
With literally minutes to spare before the party, I traced the invitation onto pink & purple construction paper.


Trace invitation


Start of the garland


Once done tracing, I cut several layers at once. I then went to the sewing machine and got started! I started about midway through the tiara and sewed a straight line.


Sewing the garland


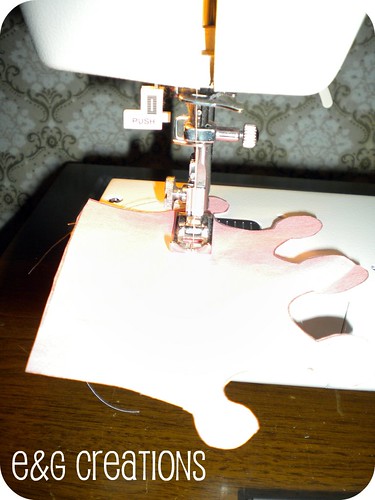
Sorry for photo quality!


I decided to make the garland with one tiara pointing upwards and the next going downwards. So, I laid the next tiara close to the first that was on the sewing machine and kept stitching. I connected at the "bulb" part of the tiara.

Attaching another tiara


Again, sorry for the quality of the photo..my lighting is not good near my sewing machine!


I continued to add tiaras until I reached my desired length. This a picture of a few tiaras attached together.

Garland view


I made a total of four garlands with 10 tiaras per garland. If I had allowed myself more time and supplies, I would have likely made them a bit longer. I used one garland on the cake table and then used the other three as table runners on the three guest tables.

Birthday Garland

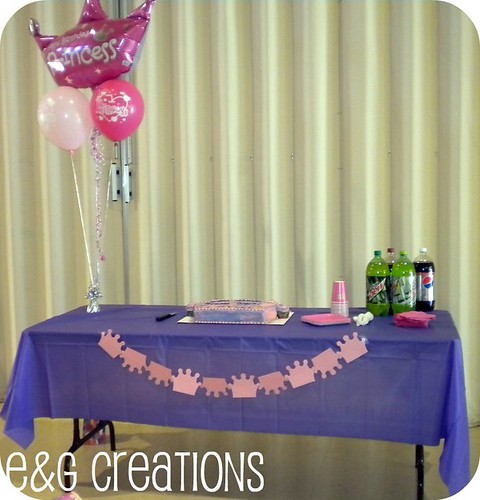
I was happy that I was able to decorate in the desired theme, without "characters" and on the cheap! It was a win-win! Most importantly, my daughter had a great day! Thanks to Creative Passage for the inspiration (she is blogging from my part of the world too!).


P.S. Thanks to the new followers of the blog!!

sign

I will be linking to these parties:

The Girl CreativeJoin  us Saturdays at tatertotsandjello.com for the weekend wrap up        party!


Monday, September 6, 2010

No Pattern Outfit!!

Okay...while there are many, many bloggers out there that are quite adept at creating their own patterns, this is new territory for me. I am soo super excited about how this outfit turned out! I created a two layer top and ruffle pants without a pattern!!


Two Tier Halter & Ruffle Pants


First, I have to say that the fabric for the top was from my mom's stash (I am not even sure it classifies as a stash anymore since it takes up an entire room) and I was not overly fond of the material. I had the idea for the top in my head for a while and decided this would be good practice material. I also just happened to have the magenta fabric on hand from a plan never executed several years ago. I am actually pretty happy with the end result...even with the less than desirable (or so I thought) fabric choices.


Back of outfit


Quite a while back, I had saw this post from The Sewing Dork for a tie back halter she created. I decided to go in a different direction with my halter (if you can call it that), but I really like the loops that were used at the back of her halter to tie the top on. I have seen other ideas where button holes are used in the middle of the back of the top/halter...but I like the idea of the straps each having their own home! :) You probably are not able to see this on my "model" but I like to criss-cross the straps before looping.


Strap Loops


I created my pattern for the bodice by using a tank top that I knew had a generous fit on my daughter and then folded the shoulders down and the tummy up. I basically traced what was left. I added some interfacing to the bodice and also added the loops and straps (the straps are really too long...but I will tweak that when I make another). Once done, I added a couple of layers of ruffles. The top ended up being long enough that my daughter has worn this once as a dress. It will also be nice as the weather gets cooler to pair it with the ruffle pants.


Two Tiered Top

Back of Two Tiered Top


For the pants, I again took a pair of pants that fit my daughter and traced the pants and then added a ruffle at the bottom. The pants are a bit snug around the bum for my daughter...so there is some tweaking for the next pair I make. For me, making pants without a pattern was daunting for me in concept...but they were SUPER easy to make. My daughter is a shortie (she comes from a long line of them) and so pants are always a struggle for the right length. I am excited that we have more options now!!


Ruffle Pants


Obviously, neither of these "designs" are my original ideas...I have used pieces here and there of what I have seen others make and created how I wanted to put it together. I have thought about putting together a tutorial for my version of these "patterns"...but we will have to see!


P.S - I have 3 (yep, count 'em) followers now!! This is soooo exciting!! Thanks so much!! WhooHoo!!

P.S.S - I was featured (like two weeks ago now...because I am a little slow in blogging) on the
Creative Itch after linking up for a party!!! Yea!!!! How awesome!!

Thanks for stopping by!!
sign


I will be linking to these parties:


Party Button
Photobucketmake it wear itThe Girl CreativeJoin  us Saturdays at tatertotsandjello.com for the weekend wrap up        party!